We are a three-person band playing biomechanical pop. We have live vocals, live keyboards, live drums and a backing track. In addition, we have pre-programmed lighting systems for each song. How is all this put together?
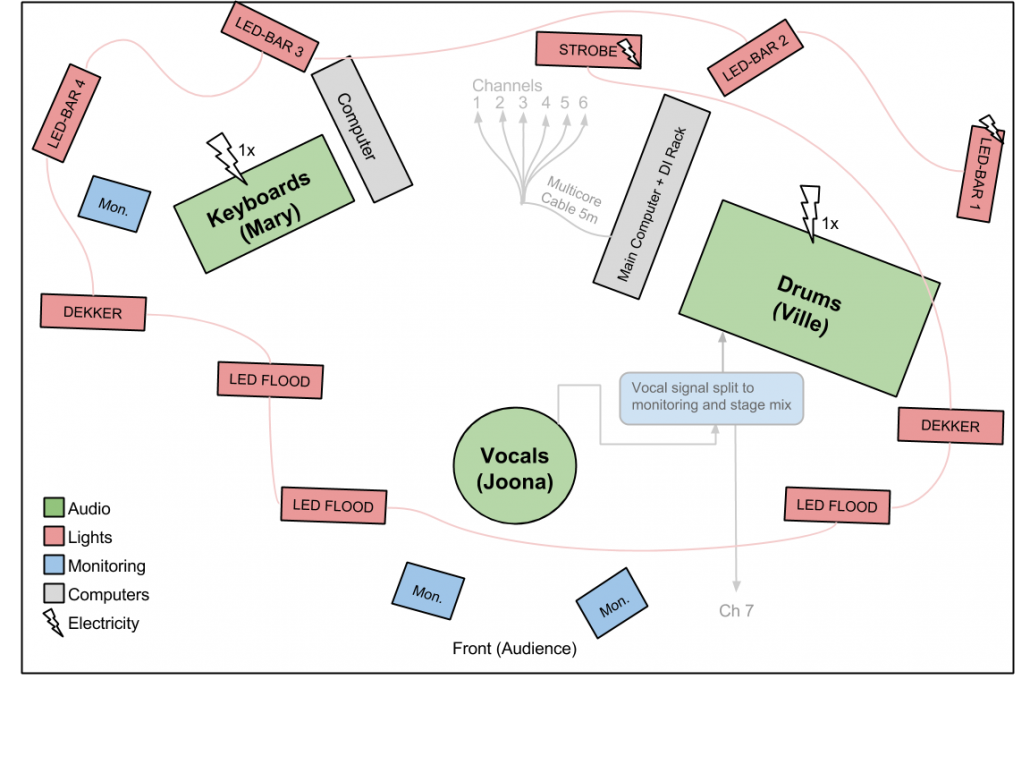
Our live system has migrated from a very simple collection of separate sound modules to a more integrated mesh of interacting instruments and controllers. This article was written to clarify the mess, both for us and for the audience. Music tech geeks might enjoy this article, but the vast majority of humans will not. I will explain in detail how our live system is built and how we aim to improve it further.
Overview of the audio setup
We’ll start with the central hub of it all: the main computer (Macbook Pro Retina 15”, late 2013 edition). This laptop uses SSD drives, which makes things hell of a lot faster (seriously, going back to normal hard drives would drive me mad). It’s also got two Thunderbolt ports and two USBs (which is a bummer – more USBs would be nice). The computer is running Ableton Live 9. This is the DAW we find best for combining our studio and live performances (to be honest we haven’t looked at any newcomers in years, but we’re super happy with Live anyway). The versatility of Live for both studio and live use is just super awesome.
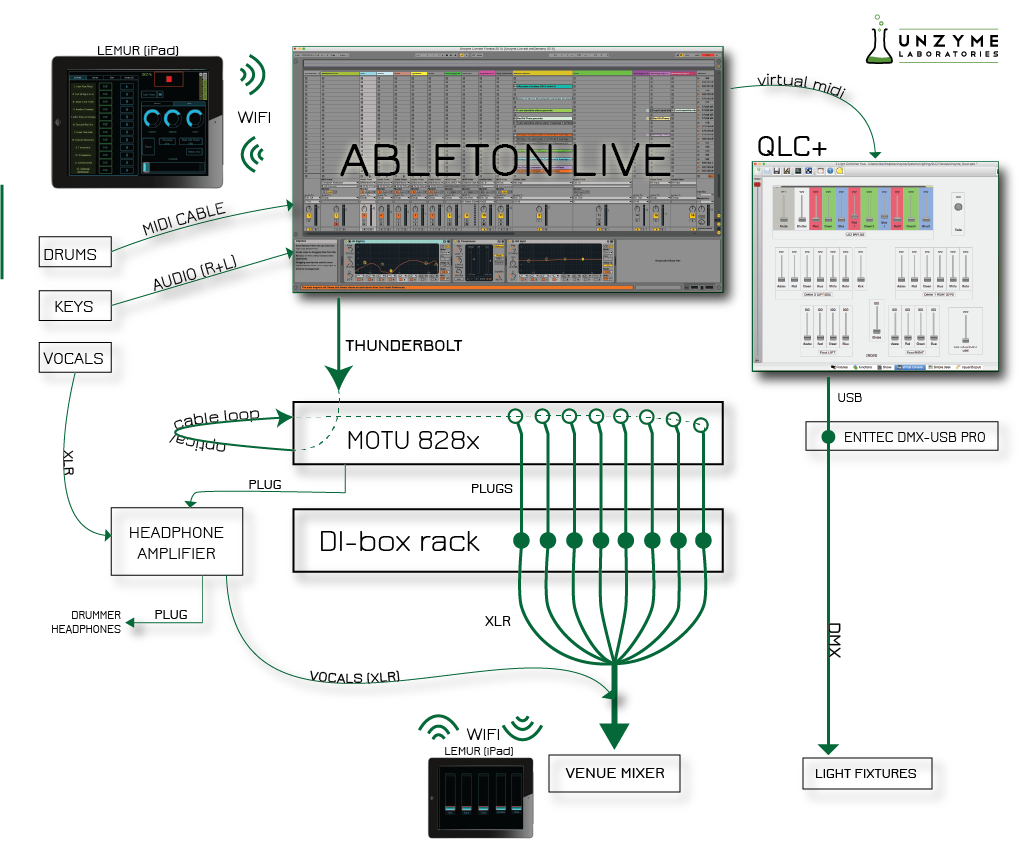
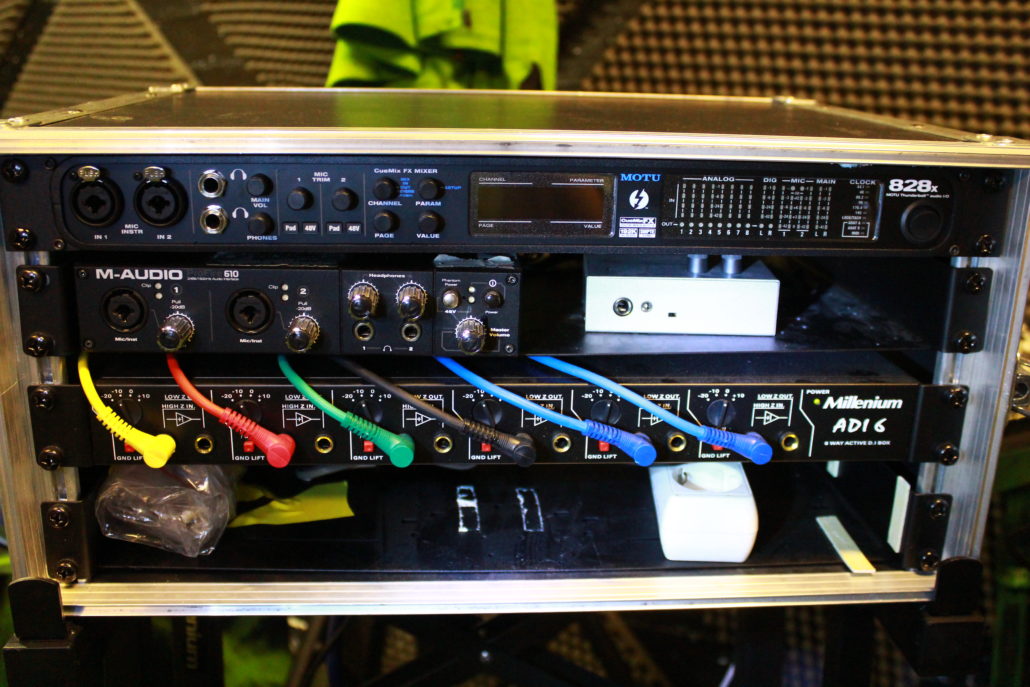
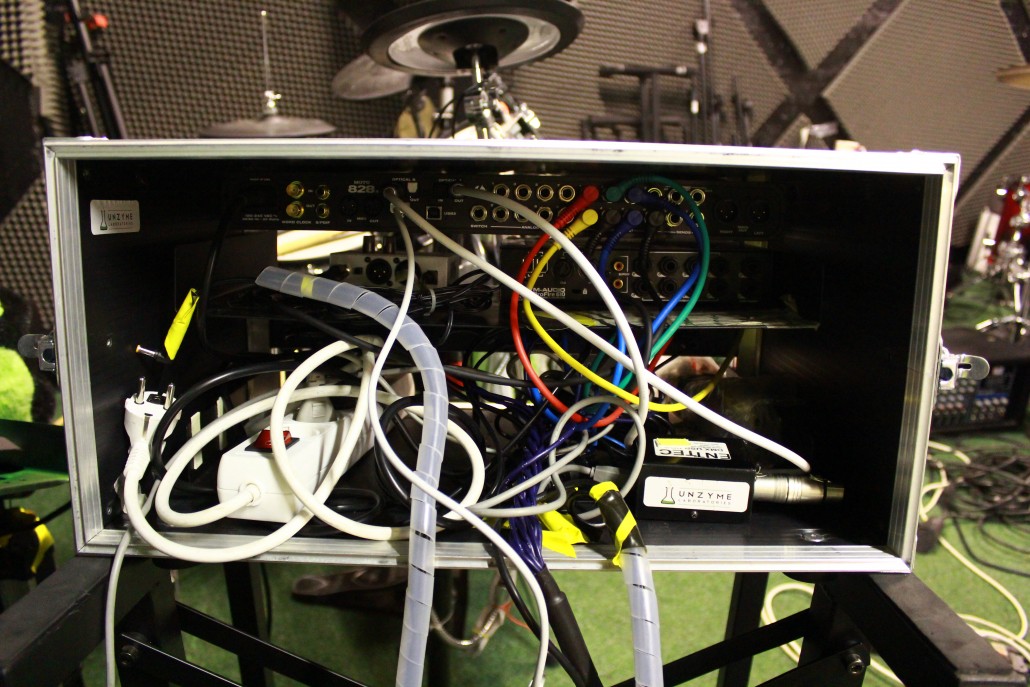
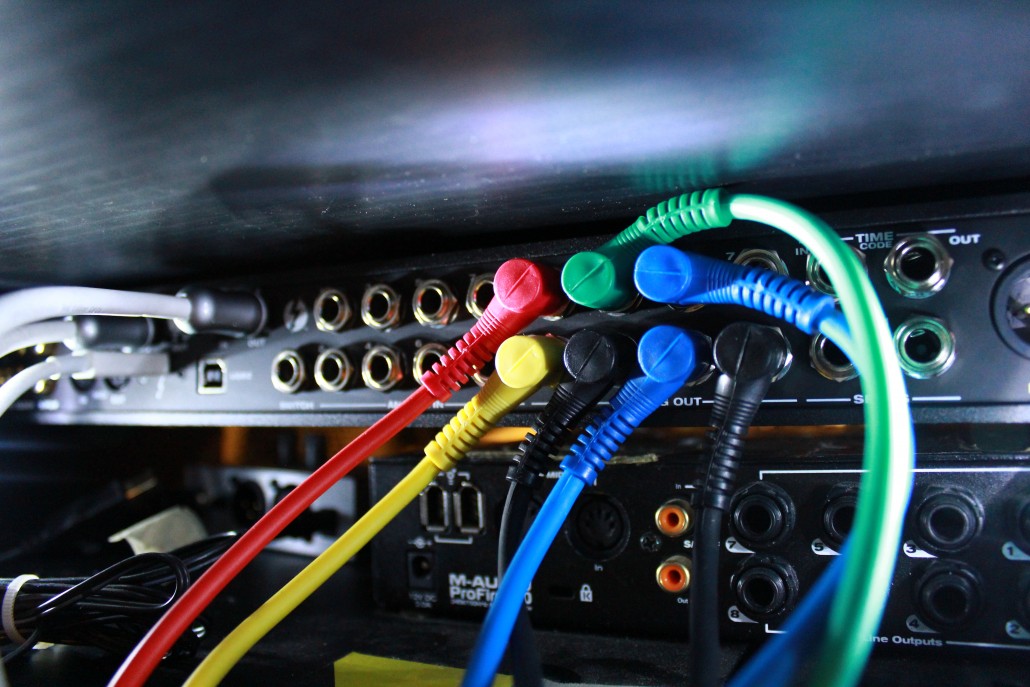
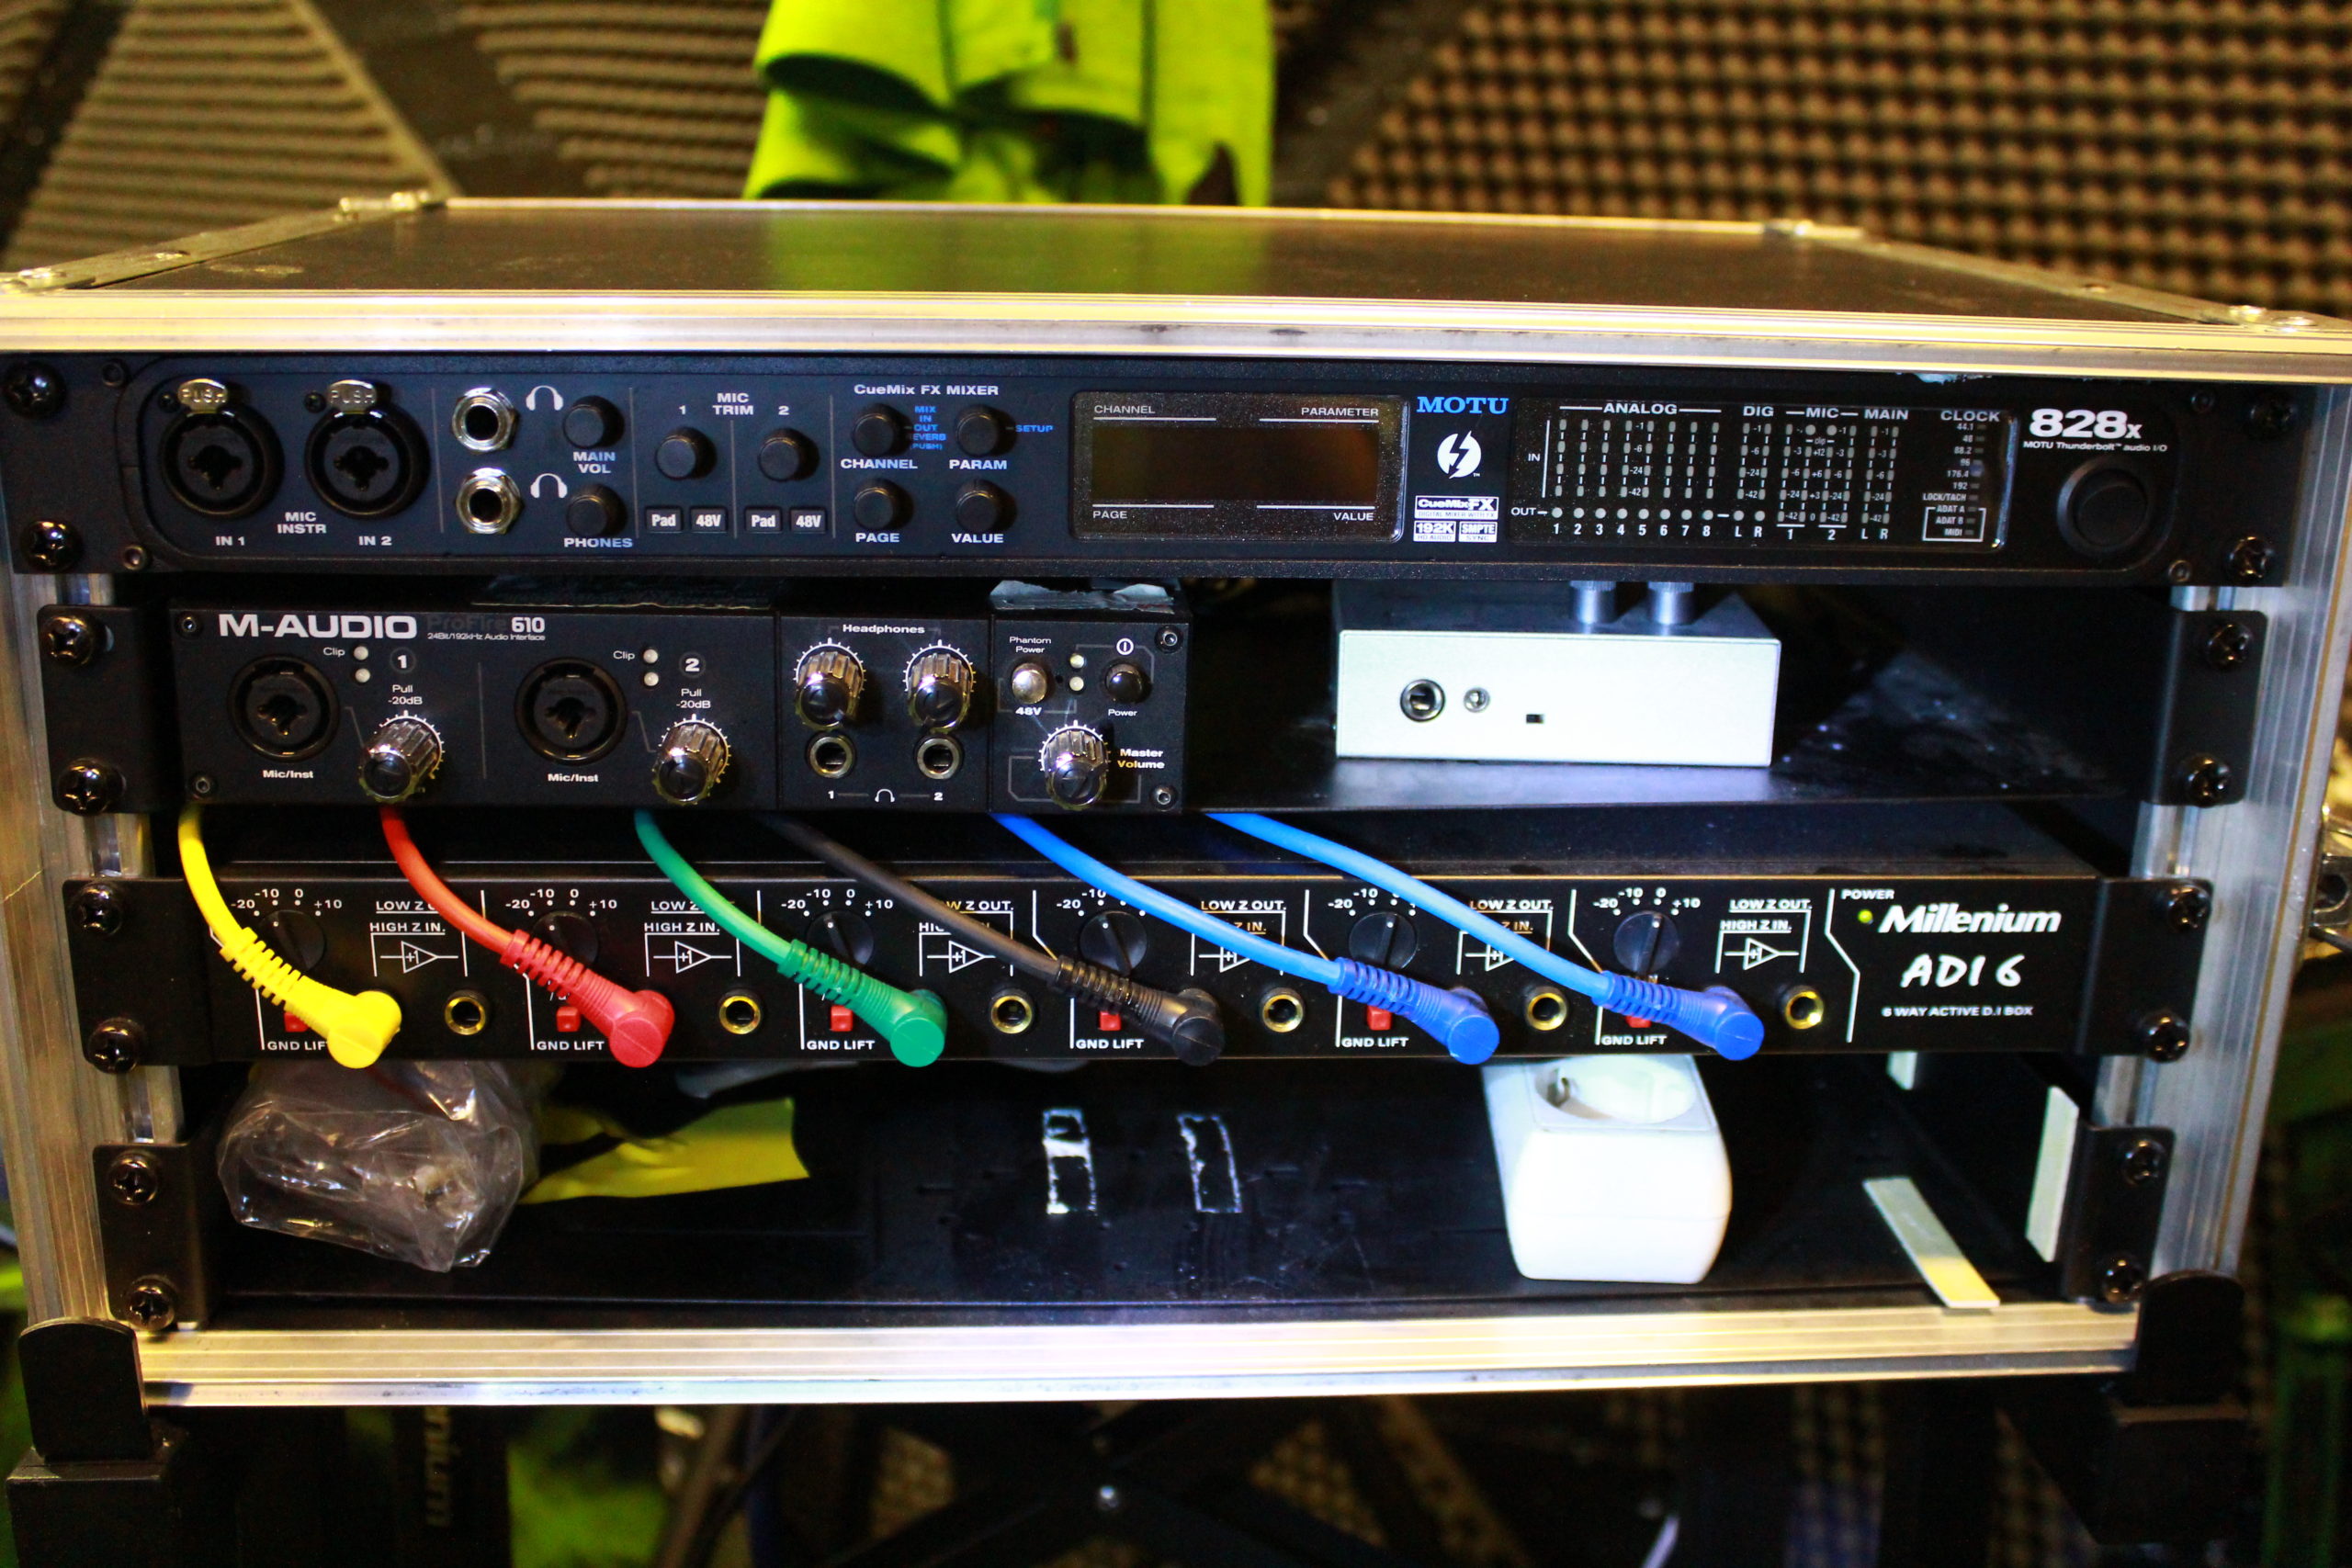
We currently use MOTU 828x sound card with a thunderbolt connection (previously we had an M-Audio ProFire 610. The card broke down in the middle of a show, so we invested in slightly more professional gear). In order to have the possibility of building a monitoring system for our drummer (me), we had to do a bit of perverse magic. It is impossible to do virtual routing of channels in MOTU’s system, so we output all our channels from the sound card’s optical output and feed it back into its optical input (read more here). These incoming channels can then be assigned to different outputs. The channels are output from MOTU into a DI-box rack (Millenium ADI6). The signals are linked into a DI-box with short cables to avoid interference caused by unbalanced cables. Here on out the channels are fed to a multicore cable (essentially eight XLR cables bundled into one, with separate ends of course), which is then plugged to the venue’s stagebox.Here’s the list of channels we currently use:
- Backing track R
- Backing track L
- Keyboards R
- Keyboards L
- Drums R
- Drums L
- Click track (mono)
Drums
We use Roland TD-12 electronic drums. The Roland drum computer only acts as a relay and outputs midi signals to the main MacBook Pro. All the samples are triggered in two instances of Native Instrument’s Battery 3, in which we’ve built custom drum kits. We utilize Battery’s own samples and a collection of some Vengeance samples. The reason we use two distinct drum channels in Live is simply to beef up the sound – having two kits sounds bigger and more full than one (just be careful with overbooming kicks and such). The other channel has a lot less low-end and acts as an additional mid/high layer. Kicks, snares, cymbals and “the rest” are output from Battery 4 to separate channels for easier mixing. All the drum channels are contained within a single group, which outputs a combined stereo signal from Live. Even though the drums are fed as a stereochannel to the venue’s sound system, the sound engineer has the possibility of wirelessly adjusting individual drum parts using our Lemur patch for the iPad (see last section of this article).
Our drummer uses a headphone based monitoring system, while the rest of the band rely on stage monitors. MOTU’s Cuemix is used to mix the channels, which are output to a single channel and fed to a headphone amplifier (Behringer MA400). The amp also has an XLR input (into which the vocals are fed) and an XLR output (through which the vocals continue their journey, undisturbed, to the venue’s stage box). The drummer uses Shure’s SE 215 headphones.
Keyboards
The keyboards are hooked to another MacBook Pro (17”, late 2011) with an SSD-drive upgrade. This machine also runs Ableton Live and has its own sound card. Each song has its own channel (and some songs share the same channel). This channel contains the suitable plug-ins and effects for the song in question, so all that is needed for playing is simply arming the desired channel. The output of the sound card is fed to an input in MOTU on the main computer. This is captured in Live as an audio channel and then fed to the DI-box and to the multicore, as well as to the drummer’s monitoring system. There are two reasons for routing the keys through the main computer instead of simply plugging them into the stagebox. First, it is necessary in order to get the keyboard monitoring signal to the drummer. Second, some songs (e.g Relay) use sidechain compression. The sidechain input signal has to come from the main computer to maintain sync.
Vocals
Vocals do not go through the sound card, but are fed straight to the venue’s mixing console (after passing through the drummer’s monitoring system though). We are considering routing the vocals through the sound card to apply some neat effects live.
Visuals
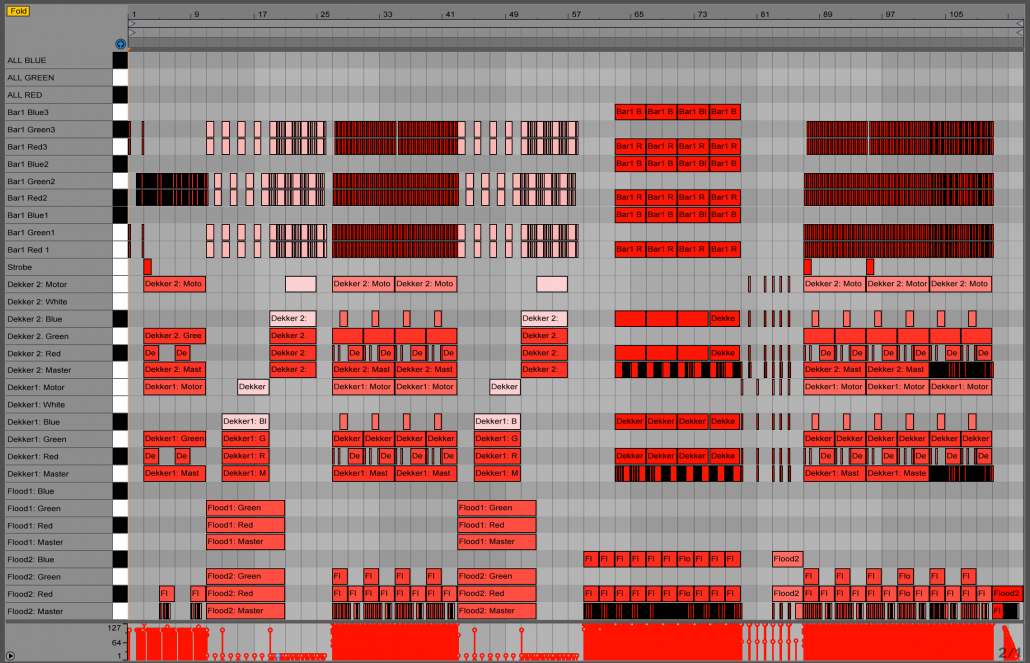
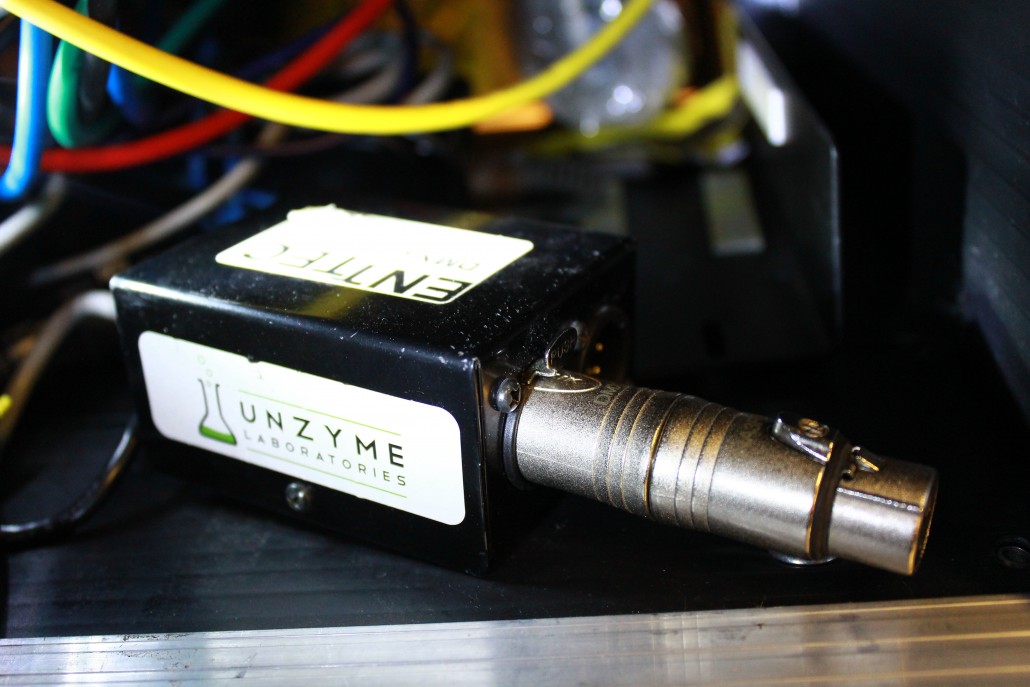
An integral part of the Unzymian live experience is the light show. For each song we’ve pre-programmed a unique light sequence, striving to reflect the mood of the song. Currently our setup holds 13 DMX-controlled lighting fixtures (four led bars, six flood lights, two American DJ Dekkers and a Strobe). All the fixtures are daisy chained (both the DMX signal and the electricity). The first fixture is connected to our main MacBook Pro by the wonderful Enttec DMX-USB Pro. We use QLC+ as the light controller interface. The actual light programs exist as midi clips in Live, in which each note corresponds to a specific DMX channel. For example, C1 might correspond to the motor in American DJ Dekker and C#1 to its green LED intensity. The signal is output from Live to a virtual midi port on the OSX, which is then picked up by QLC+. The midi data is transformed into a DMX signal and sent through the daisy chain to the fixtures.
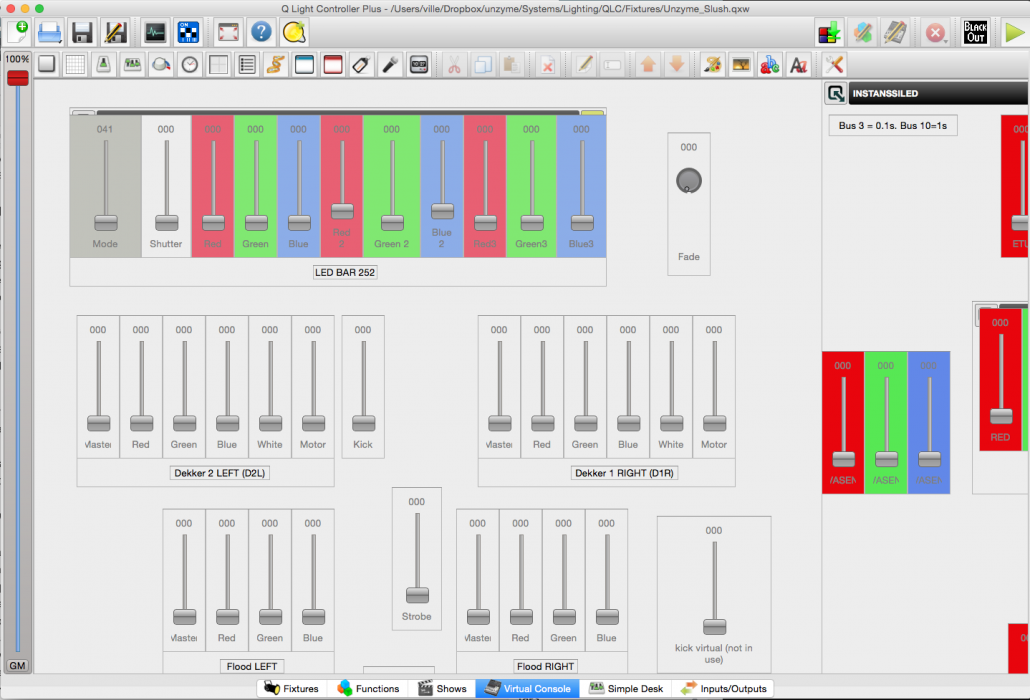
In addition to the preprogammed parts, two fixtures are triggered by the kick drum (note C1). This is achieved by having a separate midi channel, which receives midi data from the actual drum channel. The midi is then transposed down -18 st using Live’s Pitch tool (transposing is done simply because in QLC+ another fixture is triggered by C1). QLC+ then catches the incoming note and sends it as a DMX to the fixtures.
iPad as a controller
Using a tablet as the main controller of a live show can be risky. Previously we’ve relied on dedicated hardware equipment on stage (namely Akai’s APC-40). However, countless shows have shown us that Lemur on the iPad is almost guaranteed to run smoothly throughout the show (as long as you get the initial connection working). The Lemur connects to the main MacBook Pro by using an ad-hoc network provided by the computer. We’ve designed a template for our live shows using the Lemur editor.
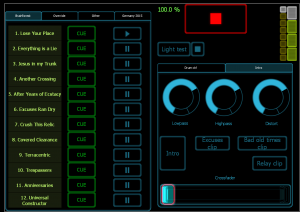
On the Lemur template, each song has two buttons: cue and play. Cue launches the preceding scene on Live, which has the same tempo as the actual song scene. The scene also holds a clicktrack, so the drummer knows the pace in which the song will start. Tapping play before the next bar queues the actual song scene and the song starts as the quantatization hits the next bar. The lemur can also be used to fine-tune drum sounds and launch simple drum loops in case the drummer has to start fiddling with technical problems and has no time to play. Also the intro/first song mixing is done with Lemur. We have two iPads: one is fixed to the drums and one is given to the sound engineer for mixing the virtual drum channels.
How the live show proceeds
We start each show with an intro tape. We wrote a script and searched Fiverr for a female voice to do read the script aloud. We found a suitable speaker and had the script delivered. The intro is accompanied by a light show, carefully synced to each part of the script. The intro channel uses our crossfader B channel, whereas all the other channels are at A. As the script comes to its end, a siren is left to play every quarter note. At this point the drummer launches the first song of the set (as a clip, not as a scene). Using a lowpass filter and some other effects, the first song’s backing track is slowly mixed with the siren. The universal tempo is brought up to approximate the song’s tempo and the crossfader is eventually dragged all the way to A. At a suitable moment the actual scene of the first song is launched. This locks the tempo to actual tempo of the song and also initiates the song’s lighting program clip. We use quantization setting of 1 bar. Up until now all this has been done with an APC-40 midi controller, but recently we decided to drop it off and rely completely on Lemur on the iPad (the APC still travels with us as backup).
1 thought on “Setting up an Unzyme live show using Ableton Live”